Wax Pastel Art Blog | Creative Tutorials, Drawing Ideas & Coloring Inspiration
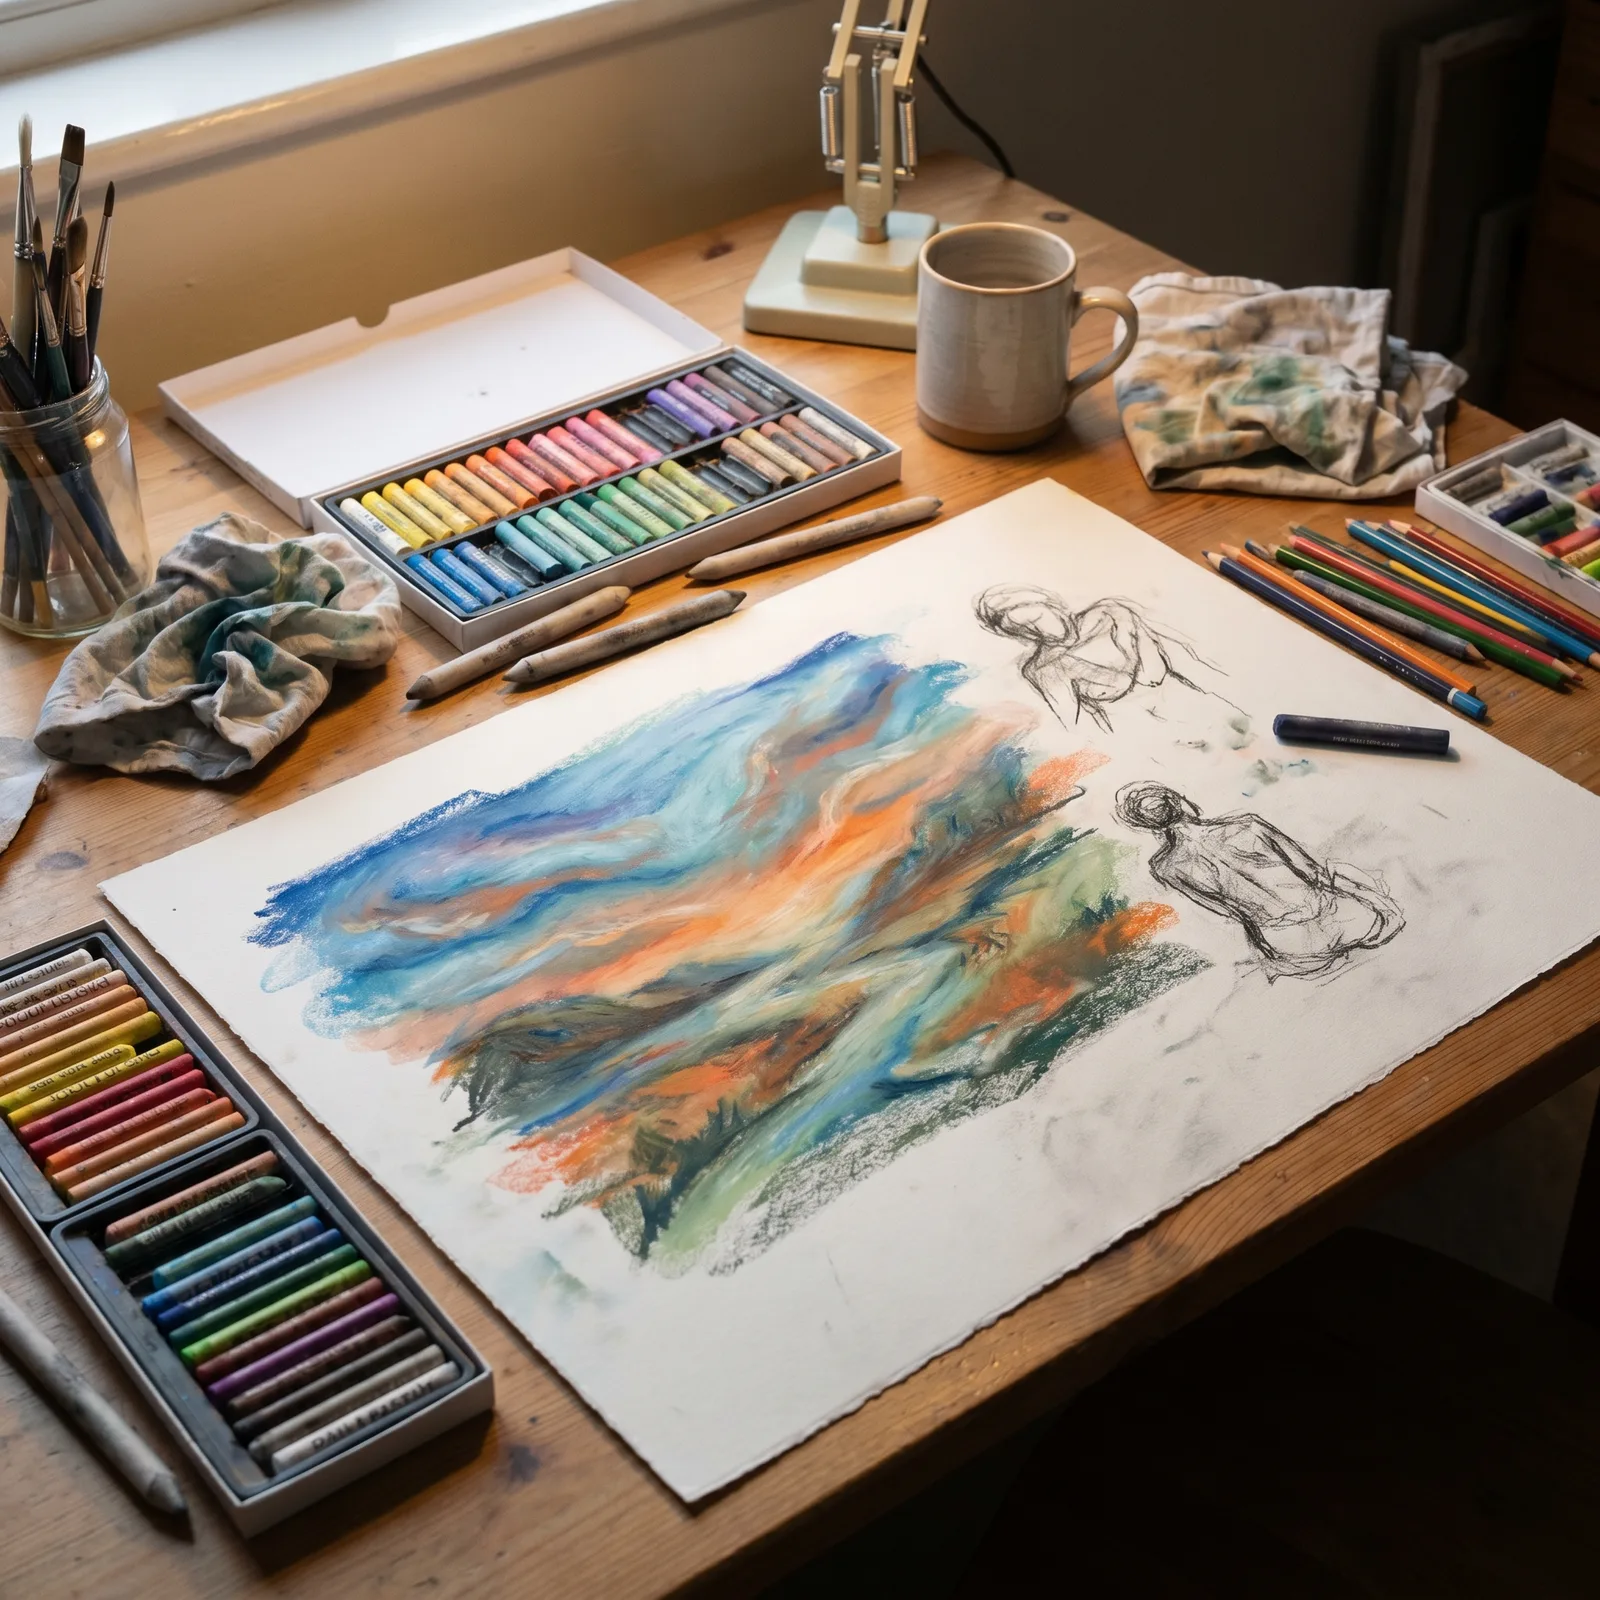
In my experience teaching art to both children and adults, I've found wax pastels to be one of the most forgiving and joyful mediums on the planet. From bold color blending to soft textured shading, wax pastels let you create vibrant artwork with minimal supplies—and I've seen complete beginners produce pieces that genuinely surprise them within their first hour.
Whether you're a first-timer exploring art for the very first time or an experienced creator hunting for fresh inspiration, wax pastel techniques can unlock creative pathways you didn't know existed. I designed this guide to share the exact methods I use in my workshops, along with the real‑world insights I've gathered from hundreds of students.
What Are Wax Pastels?
When I first picked up a wax pastel, I was struck by how smoothly it glided across the paper—like drawing with lip balm, but infinitely more colorful. Wax pastels are pigment-rich drawing sticks bound with a soft wax. Unlike colored pencils (which can feel scratchy) or markers (which bleed), pastels produce a rich, buttery texture that practically begs you to layer and blend.
What I love most—and what I constantly point out to my students—is how they turn drawing into a tactile, sensory experience. Here's why I recommend them to everyone:
- Beginner-friendly: I've taught 6‑year‑olds and 70‑year‑olds with the same set. The learning curve is wonderfully gentle.
- Blending magic: They don't just sit on the paper; they move and mingle, which makes gradients feel alive.
- Expressive mark‑making: Heavy pressure gives you bold strokes; light pressure gives you whisper‑soft haze.
- Classroom & homeschool gold: Minimal mess, no solvents, and easy clean‑up—I've used them in crowded workshops with zero disasters.
- Mindfulness built‑in: The repetitive motion of shading and blending naturally quiets the mind. I often tell my anxious students, "Let your hand do the thinking."
Essential Wax Pastel Supplies
I always tell my students that you don't need a huge budget to get started. Here are the core supplies I swear by after years of trial and error:
Wax Pastel Set
Invest in a set with at least 24 colors. I specifically look for sets that include multiple shades of the same hue (like three blues) because that makes blending feel effortless. A wider palette saves you from fighting to mix colors that don't want to cooperate.
Thick Drawing Paper
I learned this lesson the hard way when my early masterpieces tore right through flimsy sketch paper. Choose paper that's at least 160 gsm—it supports multiple layers of wax without buckling or shredding. I recommend textured paper for grip, but smooth paper works beautifully for fine detail work.
Blending Tools
You already have the best tool on the end of your hand—your fingers! But I also keep cotton swabs, tissues, and blending stumps nearby. In my workshops, I let students experiment with all of them; some prefer the warmth of their skin, others love the precision of a paper stump.
Fixative Spray
A light spritz of fixative is a game‑changer. It reduces smudging and locks in your finished layers. I recommend using it outdoors or in a well‑ventilated space—and always test it on a scrap piece first, because some sprays can darken the wax.
Beginner Wax Pastel Techniques
I designed my beginner tutorials around these four core techniques because they give the biggest visual payoff for the least effort. Once my students master these, they feel confident enough to tackle almost any subject.
Layering Colors
I always tell my students to start light and work toward dark. Why? Because you can always add more pigment, but it's surprisingly tough to take heavy wax away. Apply your lightest shade first, then gently build darker tones on top. This creates depth and dimension without muddiness.
Blending
I remember spending an entire afternoon trying to get a smooth sunset sky—until I realized my index finger was the best tool I had. To blend, apply two or three colors next to each other, then use small circular motions with your finger, a tissue, or a stump to gently fuse them. The key is patience; let the wax warm up under your touch.
Scratch Art Technique
This is my favorite trick when a piece feels too flat. Layer bright, bold colors on the paper, then cover them completely with a dark color (like black or deep navy). Before the top layer dries, use a pointed tool (or even a paperclip) to scratch a design into the surface. The bright colors peek through like magic—I specifically added this to my lesson plans because it instantly excites frustrated artists and makes them feel like alchemists.
Gradient Shading
I use this exercise to teach color theory without overwhelming beginners. Pick two colors (say, yellow and orange) and apply them on opposite ends of a shape. Using a clean blending tool, slowly work them toward the middle. The result is a smooth, luminous transition that adds softness and realism to anything from sunsets to fruit.
Easy Wax Pastel Drawing Ideas
When I created my list of drawing prompts, I focused on themes that naturally lend themselves to pastel's strengths—soft edges, rich color, and dreamy atmospheres. Here are some of my students' absolute favorites:
- Dreamy night skies filled with swirling stars and crescent moons
- Cozy reading nooks with warm, glowing lamps
- Autumn landscapes with falling leaves in gold and crimson
- Ocean scenes with gentle whales and curling waves
- Botanical gardens full of oversized, glowing plants
- Fantasy castles perched in magical, misty forests
- Abstract mindfulness coloring pages (perfect for winding down)
These themes work beautifully for relaxing coloring posters and printable wall art—and I've seen them turn into thoughtful handmade gifts more times than I can count.
Why Wax Pastel Art Is Great for Relaxation
In my work with therapists and classroom teachers, I've noticed that the repetitive motion of blending pastels acts almost like a moving meditation. There's something about the physical act of rubbing wax into paper that grounds you in the present moment. It's not about creating a perfect picture; it's about the rhythm of your hand and the quiet satisfaction of watching colors come to life.
I often use wax pastel activities for:
- Stress relief: The soft texture soothes nervous energy.
- Creative expression: There's no "wrong" way to blend—every result is valid.
- Art therapy: It gives non‑verbal clients a safe, colorful way to communicate.
- Classroom mindfulness: I've used it as a 10‑minute reset between lessons.
- Emotional relaxation: The sheer act of covering paper with pigment can be profoundly calming.
I encourage my students to treat their pastel sessions as a peaceful daily ritual—even if they only have 15 minutes.
Tips to Improve Your Wax Pastel Artwork
I designed these tips to solve the most common frustrations I see in my workshops. They're small adjustments that make a huge difference:
Use Light Pressure First
Resist the urge to press hard right away. Gentle pressure lets you build layers gradually, and you can always intensify the color later. Heavy pressure too early flattens the tooth of the paper and limits your options.
Experiment With Color Combinations
Some of the most beautiful results come from "ugly" color pairings. I once saw a student pair neon pink with mustard yellow, and it turned into a stunning sunset. Trust your intuition—and if it doesn't work, just layer over it. That's the beauty of wax.
Work From Background to Foreground
This is the single biggest game‑changer for composition. If you paint the sky and distant hills first, your foreground elements will pop naturally. It also prevents you from accidentally smudging your main subject while reaching for background areas.
Practice Texture Effects
Don't just blend everything flat. Use dots for a stippled effect, short parallel lines for fur or grass, and circular strokes for clouds. Adding these textural details is what elevates a good drawing to a captivating one.
Printable Wax Pastel Coloring Pages
I created these printable coloring pages specifically because I saw how much time artists spent sketching before they could actually enjoy the coloring part. I wanted to remove that barrier—so you can jump straight into the relaxing act of blending and shading without worrying about perspective or proportion.
Fantasy themes, cozy aesthetics, celestial scenes, and botanical illustrations are especially popular among teens and adults. I make sure my printable posters include open areas for blending, plus tiny detail spots for those who love precision work. They are perfect for:
- Classroom activities and art stations
- Homeschool projects (my own kids test every single one!)
- Creative workshops and community events
- Mindfulness art sessions for all ages
- Personal relaxation time—just you, the paper, and your pastels
Final Thoughts on Wax Pastel Creativity
Wax pastel art combines creativity, relaxation, and vibrant color expression in a way that genuinely feels accessible to everyone. In my experience, the people who get the most out of it are the ones who let go of perfectionism and embrace the process.
I encourage you to treat your pastels not as a tool for flawless rendering, but as a partner in play. Experiment with unexpected color palettes, revisit childhood themes, and don't be afraid to make a glorious mess. Every layer adds to the story of your piece—and every session leaves you a little calmer and a little more connected to your own imagination.
Keep exploring, keep blending, and most of all, enjoy the quiet magic of making art with your own two hands.